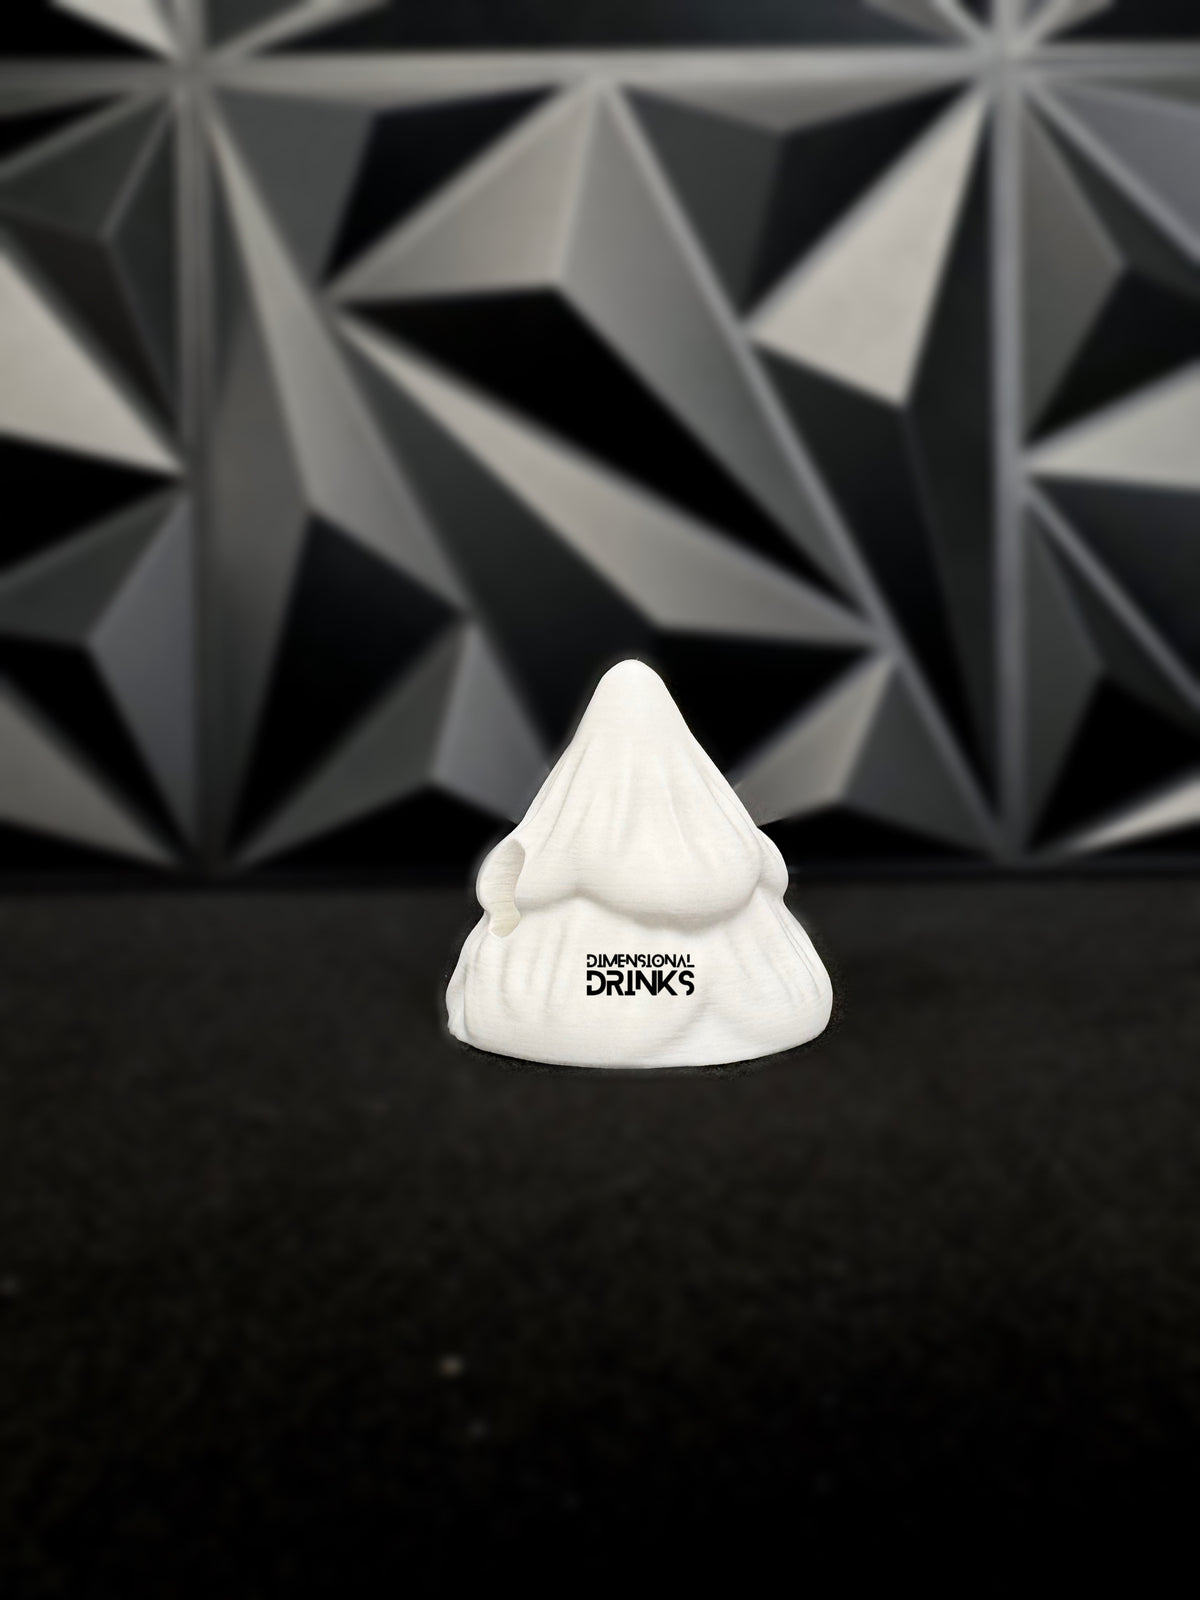
Looking to add a custom, sculpted touch to your 3D Tumbler Sleeves? Polymer clay is a fantastic medium to create intricate, eye-catching designs. Here’s everything you need to know to make it work seamlessly with your sleeves.
Key Step: Mold, Bake, and Attach
While our 3D Tumbler Sleeves are versatile and durable, they cannot withstand baking temperatures. But don’t worry—here’s how you can still use polymer clay:
1. Mold Your Design: Sculpt your polymer clay directly onto the sleeve to get the perfect fit and shape.
2. Remove Before Baking: Carefully take the clay design off the sleeve before baking. This step ensures the sleeve remains intact and undamaged.
3. Bake the Clay Separately: Follow the manufacturer’s instructions for baking the clay. Once baked, let it cool completely.
4. Reattach with Adhesive: Use a strong, permanent adhesive like epoxy or E6000 to securely bond the baked clay to the sleeve.
For Self-Curing Clays
If you’re using self-curing clays like Apoxie Sculpt, the process is even simpler. These clays don’t require baking, so you can sculpt them directly onto the sleeve and allow them to cure in place. This saves time and ensures your designs are ready to go without extra steps.
With these methods, you can create stunning, unique designs that transform your 3D Tumbler Sleeves into personalized works of art.
0 comments