Adding sculpted details to your 3D Tumbler Sleeves with polymer clay or self-curing clays like Apoxie Sculpt can give your designs a unique, personalized touch. Whether you want to create raised patterns, intricate decorations, or custom textures, both types of clay offer creative freedom. In this guide, we’ll explain how to use polymer clay and self-curing clays for custom sculpted designs on your tumbler sleeves, along with tips for adhering and finishing your project.
Materials You’ll Need:
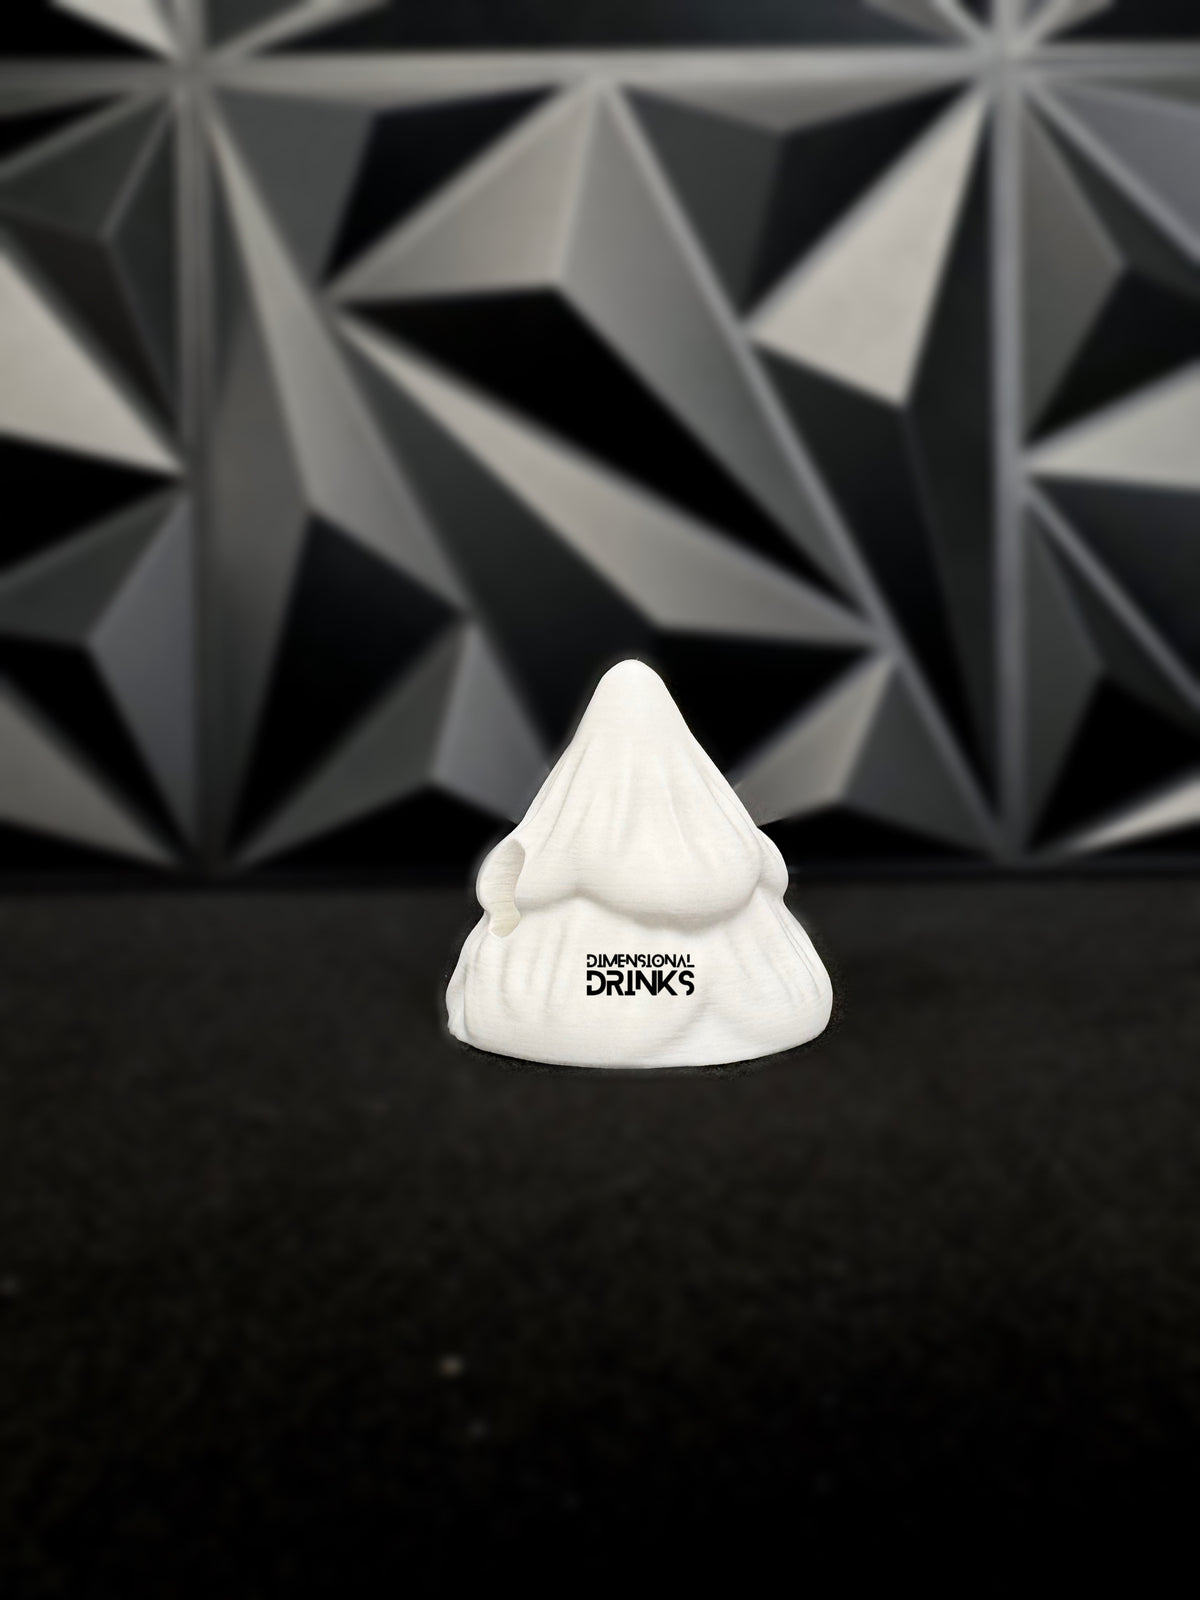
- 3D Tumbler Sleeve
- Polymer clay (like Sculpey or Fimo)
- Self-curing clay (like Apoxie Sculpt or similar)
- Craft knife or sculpting tools
- Rolling pin or smooth surface for flattening clay
- Baking sheet (for polymer clay)
- Adhesive (E6000, epoxy, or Liquid Fusion)
- Sandpaper or smoothing tools (optional)
- Sealant (Epoxy, Crystalac, or Hyperion)
- Protective gloves (for self-curing clay)
Step 1: Choosing the Right Clay
The type of clay you choose will depend on your design needs and how you want to apply the sculpted details. Here’s an overview of both types of clay:
Polymer Clay:
- Bakeable: Polymer clay needs to be baked in an oven to harden. Once baked, it becomes a durable, solid piece that can be adhered to the tumbler sleeve.
- Removable: Since polymer clay must be baked, it is usually removed from the sleeve before baking, then reattached afterward using a strong adhesive.
Self-Curing Clay (Apoxie Sculpt):
- Air-Drying: Self-curing clay hardens on its own without the need for baking. It adheres directly to the tumbler sleeve and cures into a permanent structure.
- Sculpt While Curing: You can mold and shape the clay directly onto the tumbler sleeve, and it will harden over time, eliminating the need to remove and reattach.
Step 2: Preparing the 3D Tumbler Sleeve
Before you begin sculpting, make sure the surface of the tumbler sleeve is clean and ready for the clay application.
- Clean the Surface: Use isopropyl alcohol and a soft cloth to wipe down the tumbler sleeve. This will remove any oils, dust, or residues that could prevent the clay from adhering properly.
- Mark Placement (Optional): If you’re creating specific patterns or designs, you may want to lightly mark the placement of your clay on the sleeve using a pencil or masking tape.
Step 3: Sculpting with Polymer Clay
If you’re using polymer clay, the process will involve sculpting, baking, and then adhering the clay to the tumbler sleeve.
1. Sculpt Your Design:
- Condition the Clay: Start by kneading the polymer clay until it’s soft and pliable. This makes it easier to shape and prevents cracks.
- Shape and Detail: Use your fingers, sculpting tools, or a rolling pin to create the shapes you want to add to your tumbler sleeve. You can create raised designs, decorative accents, or even tiny figures.
- Avoid Direct Application: Don’t attach the clay directly to the tumbler sleeve just yet, as polymer clay needs to be baked and shouldn’t go in the oven with the sleeve.
2. Bake the Clay:
- Remove the Clay for Baking: Carefully remove your sculpted pieces from the tumbler sleeve. Lay them flat on a baking sheet, making sure they won’t lose their shape.
- Bake According to Instructions: Polymer clay typically bakes at 275°F (130°C) for about 15-30 minutes per 1/4 inch of thickness. Follow the instructions on your clay’s packaging for precise baking times.
- Let Cool: Allow the baked pieces to cool completely before handling.
3. Adhere the Clay to the Sleeve:
- Apply Adhesive: Once your polymer clay has cooled, use a strong adhesive such as E6000, epoxy, or Liquid Fusion to attach the sculpted pieces to the tumbler sleeve.
- Press Firmly: Gently press the clay pieces onto the sleeve, making sure they adhere well. Wipe away any excess glue with a cloth.
Step 4: Sculpting with Self-Curing Clay
Self-curing clay, such as Apoxie Sculpt, allows you to sculpt directly onto the tumbler sleeve without baking. Here’s how to use it:
1. Sculpt Directly on the Sleeve:
- Wear Gloves: Self-curing clay can be sticky and messy, so wear protective gloves to prevent the clay from sticking to your hands.
- Mix the Clay: Apoxie Sculpt comes in two parts that need to be mixed together to activate. Knead the two parts until they are fully combined and the clay is soft.
- Apply to the Sleeve: Press the clay directly onto the 3D Tumbler Sleeve and begin shaping it. Use sculpting tools or your fingers to create the designs you want.
- Smooth the Surface: Use water or a clay smoothing tool to smooth out the clay and blend it seamlessly onto the surface of the tumbler.
2. Let the Clay Cure:
- Cure Time: Apoxie Sculpt typically takes 24 hours to fully cure, but it will start to harden within a few hours. Be sure to leave the tumbler in a safe place where it won’t be disturbed during this time.
- Refine the Design (Optional): Once the clay is fully cured, you can sand or carve it for additional details if desired.
Step 5: Finishing Touches
After your clay design is secured to the tumbler sleeve, it’s time to finish the piece to ensure durability and a polished look.
1. Painting (Optional):
- Acrylic Paint: If you want to add color to your sculpted clay, use acrylic paint once the clay has hardened (either from baking or curing). Allow the paint to dry fully before moving to the next step.
2. Sealing the Design:
- Seal the Tumbler: To protect your design and ensure durability, apply a clear sealant such as epoxy resin, Crystalac, or Hyperion. This will prevent the clay from chipping or peeling and give the tumbler a glossy or matte finish, depending on the sealant used.
- Apply Thin Layers: When using epoxy, pour or brush it over the entire sleeve, covering the clay pieces evenly. Crystalac or Hyperion can be applied in multiple thin coats, allowing each coat to dry before applying the next.
Step 6: Caring for Your Custom Sculpted Tumbler
Once your 3D Tumbler Sleeve with clay designs is finished, make sure to handle it with care:
- Cleaning: Wash the tumbler sleeve gently with mild soap and water. Avoid using abrasive scrubbers, which could damage the sealant or the clay details.
- Avoid High Heat: Don’t expose the tumbler to high heat, as this could damage the sealant or loosen the adhesive.
Additional Tips:
- Test First: If you’re new to working with clays, try a small test piece before committing to a full design.
- Use Moldable Clay for Complex Designs: For more intricate designs, consider using molds to create repeating patterns or uniform shapes.
- Work in Sections: When working with self-curing clay, it’s best to sculpt in small sections to avoid the clay hardening before you’re done.
- Use Aluminum Foil (polymer clay): When working with polymer clay, you can use forms of aluminum foil to represent the sleeve roughly for pieces which are not flat and wrap around edges or features of the sleeve.
Conclusion
Sculpting with polymer and self-curing clays is a great way to add custom textures, patterns, and raised designs to your 3D Tumbler Sleeves. By following the steps in this guide, you can create durable, eye-catching designs that are as unique as your creativity. Whether you’re using polymer clay for its bakeability or self-curing clay for its ease of use, the possibilities for customization are endless!
0 comments